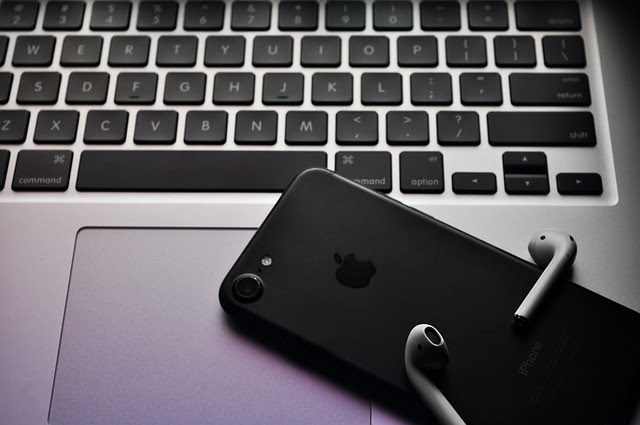
Are you a proud owner of Apple AirPods and wondering how to connect them to your laptop? Look no further, as we will guide you through the simple process of connecting your AirPods to a laptop in this article.
How to Connect Apple Airpods to Laptop/PC
Apple AirPods have gained significant popularity since their release, thanks to their convenience and seamless connectivity with Apple devices. While they are primarily designed for use with iPhones and iPads, connecting them to your laptop is just as easy.

Before we dive into the step-by-step process of connecting your AirPods to a laptop, make sure you have the following requirements fulfilled:
1. An Apple AirPods charging case.
2. A laptop with Bluetooth capabilities.
3. Ensure that Bluetooth is turned on and working on your laptop.
4. Make sure your AirPods are charged and the case is nearby.
Now, let’s get started with the process:
Step 1: Open the lid of your AirPods case:
Make sure your AirPods are charged and the lid of the charging case is open. Keep the case close to your laptop.
Step 2: Enable Bluetooth on your laptop:
Go to the system settings on your laptop and navigate to the Bluetooth settings. Ensure that Bluetooth is turned on and discoverable.
Step 3: Pairing process:
On the back of the AirPods charging case, you will find a small button named “Pairing button” or “Connect” button. Press and hold that button until the LED light on the front of the case starts flashing.
Step 4: AirPods appear in Bluetooth settings:
After a few seconds of holding the Pairing button, your AirPods should appear in the list of available Bluetooth devices in the settings on your laptop. Click on the AirPods option to select them.
Step 5: Accept the pairing request:
Once you click on the AirPods option, you might be prompted with a pairing request on your laptop. Accept the request to establish the connection between your AirPods and laptop.
Step 6: Connection successful:
If all the previous steps are followed correctly, your AirPods should now be connected to your laptop. You can now listen to your favorite music, watch videos, or engage in video conferences using your AirPods.
It’s important to note that the process may slightly vary depending on the operating system of your laptop. However, the general steps mentioned above should guide you through the process.
Troubleshooting tips:
In case you face any difficulties connecting your AirPods to the laptop, here are a few troubleshooting tips:
1. Make sure your AirPods are within the range of your laptop’s Bluetooth.
2. Restart both your AirPods and your laptop and try the pairing process again.
3. Ensure that your AirPods are not connected to any other device or Apple device.
4. Check for any available system updates on your laptop and install them if necessary.
5. If the issue persists, consult the official Apple support website or contact customer support for further assistance.
Connecting your Apple AirPods to your laptop opens up a world of seamless wireless audio experience. Whether you want to enjoy your favorite tunes while working or participate in online meetings with hands-free convenience, your AirPods will prove to be an excellent companion.
Conclusion
In conclusion, connecting your Apple AirPods to your laptop is a straightforward process that only requires a few simple steps. By following the guidelines mentioned in this article, you will be able to connect your AirPods to your laptop effortlessly and enjoy a wireless audio experience.


