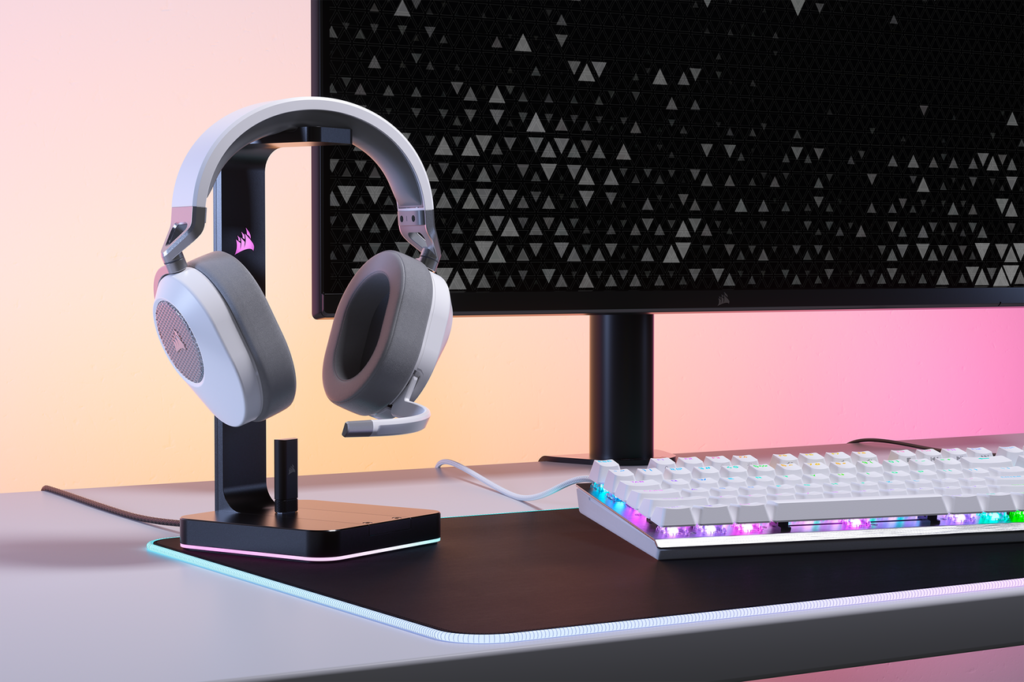
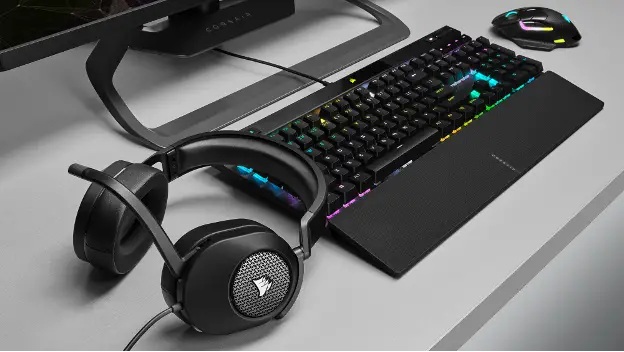
To connect a Corsair headset to a PC or Laptop, plug the headset’s USB or audio jack into the corresponding port on your computer. Ensure the headset is powered on and adjust audio settings in your PC’s control panel or sound settings if necessary.
How to Connect Corsair Headset to PC/Laptop
Corsair headsets are renowned for their quality sound and comfort, making them a popular choice among gamers and audio enthusiasts alike. However, some users may find themselves unsure of how to properly connect their Corsair headset to their PC. Fear not, as in this guide, we’ll walk you through the process step by step, ensuring a seamless connection for an optimal audio experience.
Step 1: Checking Your Corsair Headset Compatibility
Before diving into the connection process, it’s essential to ensure that your Corsair headset is compatible with your PC. Most Corsair headsets utilize a universal USB or 3.5mm audio jack connection, making them compatible with a wide range of devices, including PCs. However, it’s always a good idea to double-check the compatibility specifications provided by Corsair for your specific headset model.
Step 2: Gather Your Equipment
To connect your Corsair headset to your PC, you’ll need the following equipment:
- Your Corsair headset.
- A compatible PC with available USB ports or 3.5mm audio jacks.
- If using a USB connection: Ensure you have an available USB port on your PC.
- If using a 3.5mm audio jack connection: Ensure you have an available 3.5mm audio jack on your PC.
Step 3: Connecting via USB
If your Corsair headset utilizes a USB connection, follow these steps:
- Locate an available USB port on your PC.
- Take the USB connector attached to your Corsair headset and plug it into the USB port on your PC.
- Allow your PC a few moments to recognize the new device. You may hear a sound indicating a successful connection.
- Once connected, your Corsair headset should be ready to use. Test the audio by playing a sound or music file.
Step 4: Connecting via 3.5mm Audio Jack
If your Corsair headset utilizes a 3.5mm audio jack connection, follow these steps:
- Locate an available 3.5mm audio jack on your PC.
- Take the audio jack connector attached to your Corsair headset and plug it into the 3.5mm audio jack on your PC.
- Ensure the connection is secure.
- Your PC should automatically detect the new audio device. If not, you may need to adjust your PC’s audio settings to recognize the headset.
- Once connected, your Corsair headset should be ready to use. Test the audio to ensure it’s working correctly.

Step 5: Adjusting Audio Settings (Optional)
Depending on your preference and specific PC setup, you may need to adjust your audio settings to optimize your Corsair headset’s performance. This can typically be done through your PC’s audio control panel or settings menu. You can adjust settings such as volume levels, microphone sensitivity, and audio output preferences to suit your needs.
Step 6: Enjoy Your Corsair Headset Experience
With your Corsair headset successfully connected to your PC, you’re ready to dive into your favorite games, music, or multimedia content. Enjoy the immersive audio experience provided by your Corsair headset, and don’t hesitate to tweak settings further to tailor the experience to your liking.
Experts Tips and Recommendations
Connecting your Corsair headset to your PC is a simple process that can enhance your gaming or multimedia experience. Whether you have a wired or wireless headset, following a few easy steps will have you up and running in no time.
For a wired Corsair headset, start by locating the USB or audio jack connector on your PC. Plug the corresponding cable from your headset into the corresponding port on your PC. Make sure the connection is secure to avoid any issues with sound or mic functionality.
If your Corsair headset is wireless, you will first need to connect the wireless transmitter to your PC. This typically involves plugging the transmitter into a USB port on your computer. Once the transmitter is connected, turn on your headset and ensure it is in pairing mode. Follow any on-screen instructions to complete the pairing process.
Once your headset is connected to your PC, you may need to adjust the audio settings to ensure the best sound quality. This can typically be done through the sound settings on your computer. Make sure the headset is selected as the default audio device to ensure that sound is coming through the headset and not your computer speakers.
If you are experiencing issues with the connectivity of your Corsair headset, there are a few troubleshooting steps you can take. Make sure that the headset is fully charged if it is wireless, or that the cable is secure if it is wired. You may also need to update the drivers for your headset to ensure compatibility with your PC.
Conclusion
In conclusion, connecting your Corsair headset to your PC is a straightforward process that can be accomplished in just a few simple steps. Whether you’re using a USB or 3.5mm audio jack connection, following the steps outlined in this guide will ensure a seamless connection and optimal audio experience. Now, go ahead and enjoy all that your Corsair headset has to offer!

