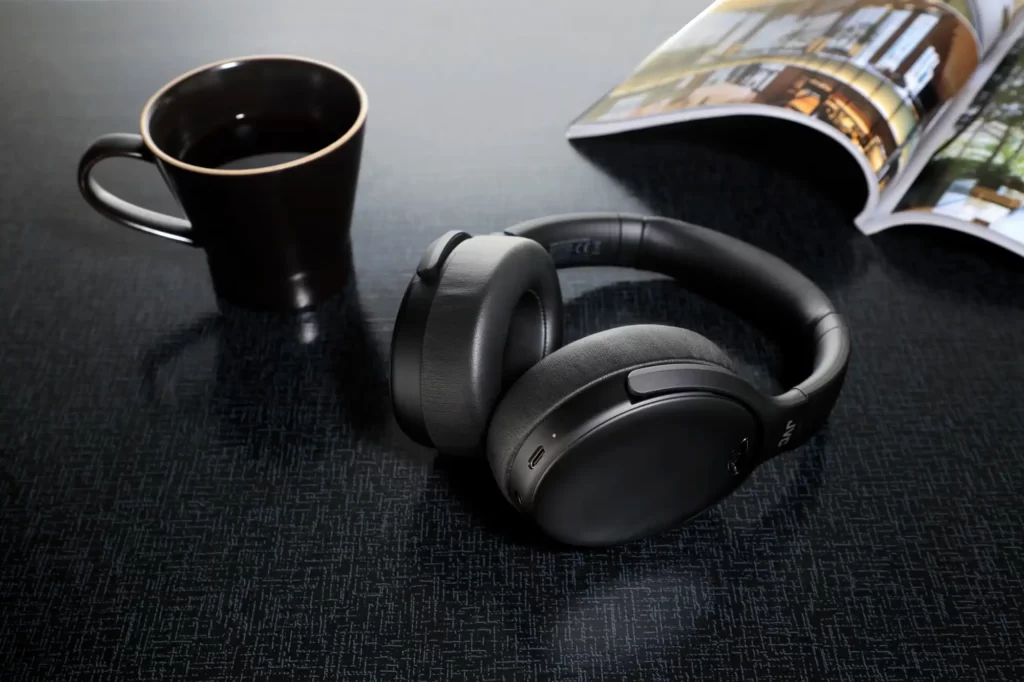
If you own a pair of JVC Bluetooth headphones, you may be wondering how to connect them to your device for a seamless audio experience. Bluetooth technology allows you to wirelessly connect your headphones to your smartphone, tablet, or computer, providing you with the freedom to move around without the hassle of tangled wires.
How to Connect JVC Bluetooth Headphones
In this article, we will guide you through the steps to connect your JVC Bluetooth headphones to your device.
Step 1: Prepare Your Headphones
Before you begin the pairing process, make sure your JVC Bluetooth headphones are powered on and in pairing mode. To put your headphones in pairing mode, locate the power button, typically located on one of the ear cups. Press and hold the power button until you see a flashing LED light or hear an audible notification. This indicates that your headphones are now discoverable by other devices.
Step 2: Enable Bluetooth on Your Device
Next, check if Bluetooth is enabled on your device. For most smartphones and tablets, you can access the Bluetooth settings by swiping down from the top of the screen to reveal the quick settings menu. Look for the Bluetooth icon and tap on it to enable Bluetooth. If you are using a computer, you can usually find the Bluetooth settings in the system preferences or control panel.
Step 3: Pair the Devices
Once Bluetooth is enabled on your device, it will search for nearby Bluetooth devices. Look for the name of your best JVC headphones in the list of available devices. The name may vary depending on the model of your headphones. Tap or click on the name to initiate the pairing process.
Step 4: Enter the PIN
In some cases, you may be prompted to enter a PIN or passcode to complete the pairing process. The PIN is usually a four-digit number, commonly 0000 or 1234. Refer to the user manual of your JVC headphones for the specific PIN code, if required. Enter the PIN on your device when prompted, and the pairing process should be completed.
Step 5: Test the Connection
Once the pairing process is successful, you can now test the connection between your device and JVC headphones. Play a song or video on your device, and it should be heard through your headphones. If you experience any issues, try adjusting the volume on both your device and headphones, ensuring that they are not muted or set to a low volume.
Step 6: Additional Tips
To enhance your experience with JVC Bluetooth headphones, consider downloading the JVC Bluetooth Manager app, if available for your specific model. This app may provide additional features, such as customizable EQ settings, firmware updates, and battery level indicators.
If you encounter connectivity issues, try moving closer to your device or removing any obstructions that may interfere with the Bluetooth signal. Additionally, keep in mind that Bluetooth technology operates within a limited range, so ensure that you stay within the recommended distance specified by the manufacturer.
Conclusion
In conclusion, connecting your JVC Bluetooth headphones to your device is a straightforward process. By following the steps outlined in this article, you can enjoy a wireless and hassle-free audio experience. Remember to keep your headphones in pairing mode, enable Bluetooth on your device, and enter the correct PIN if prompted. With a successful pairing, you can now enjoy your favorite music or videos through your JVC Bluetooth headphones.

