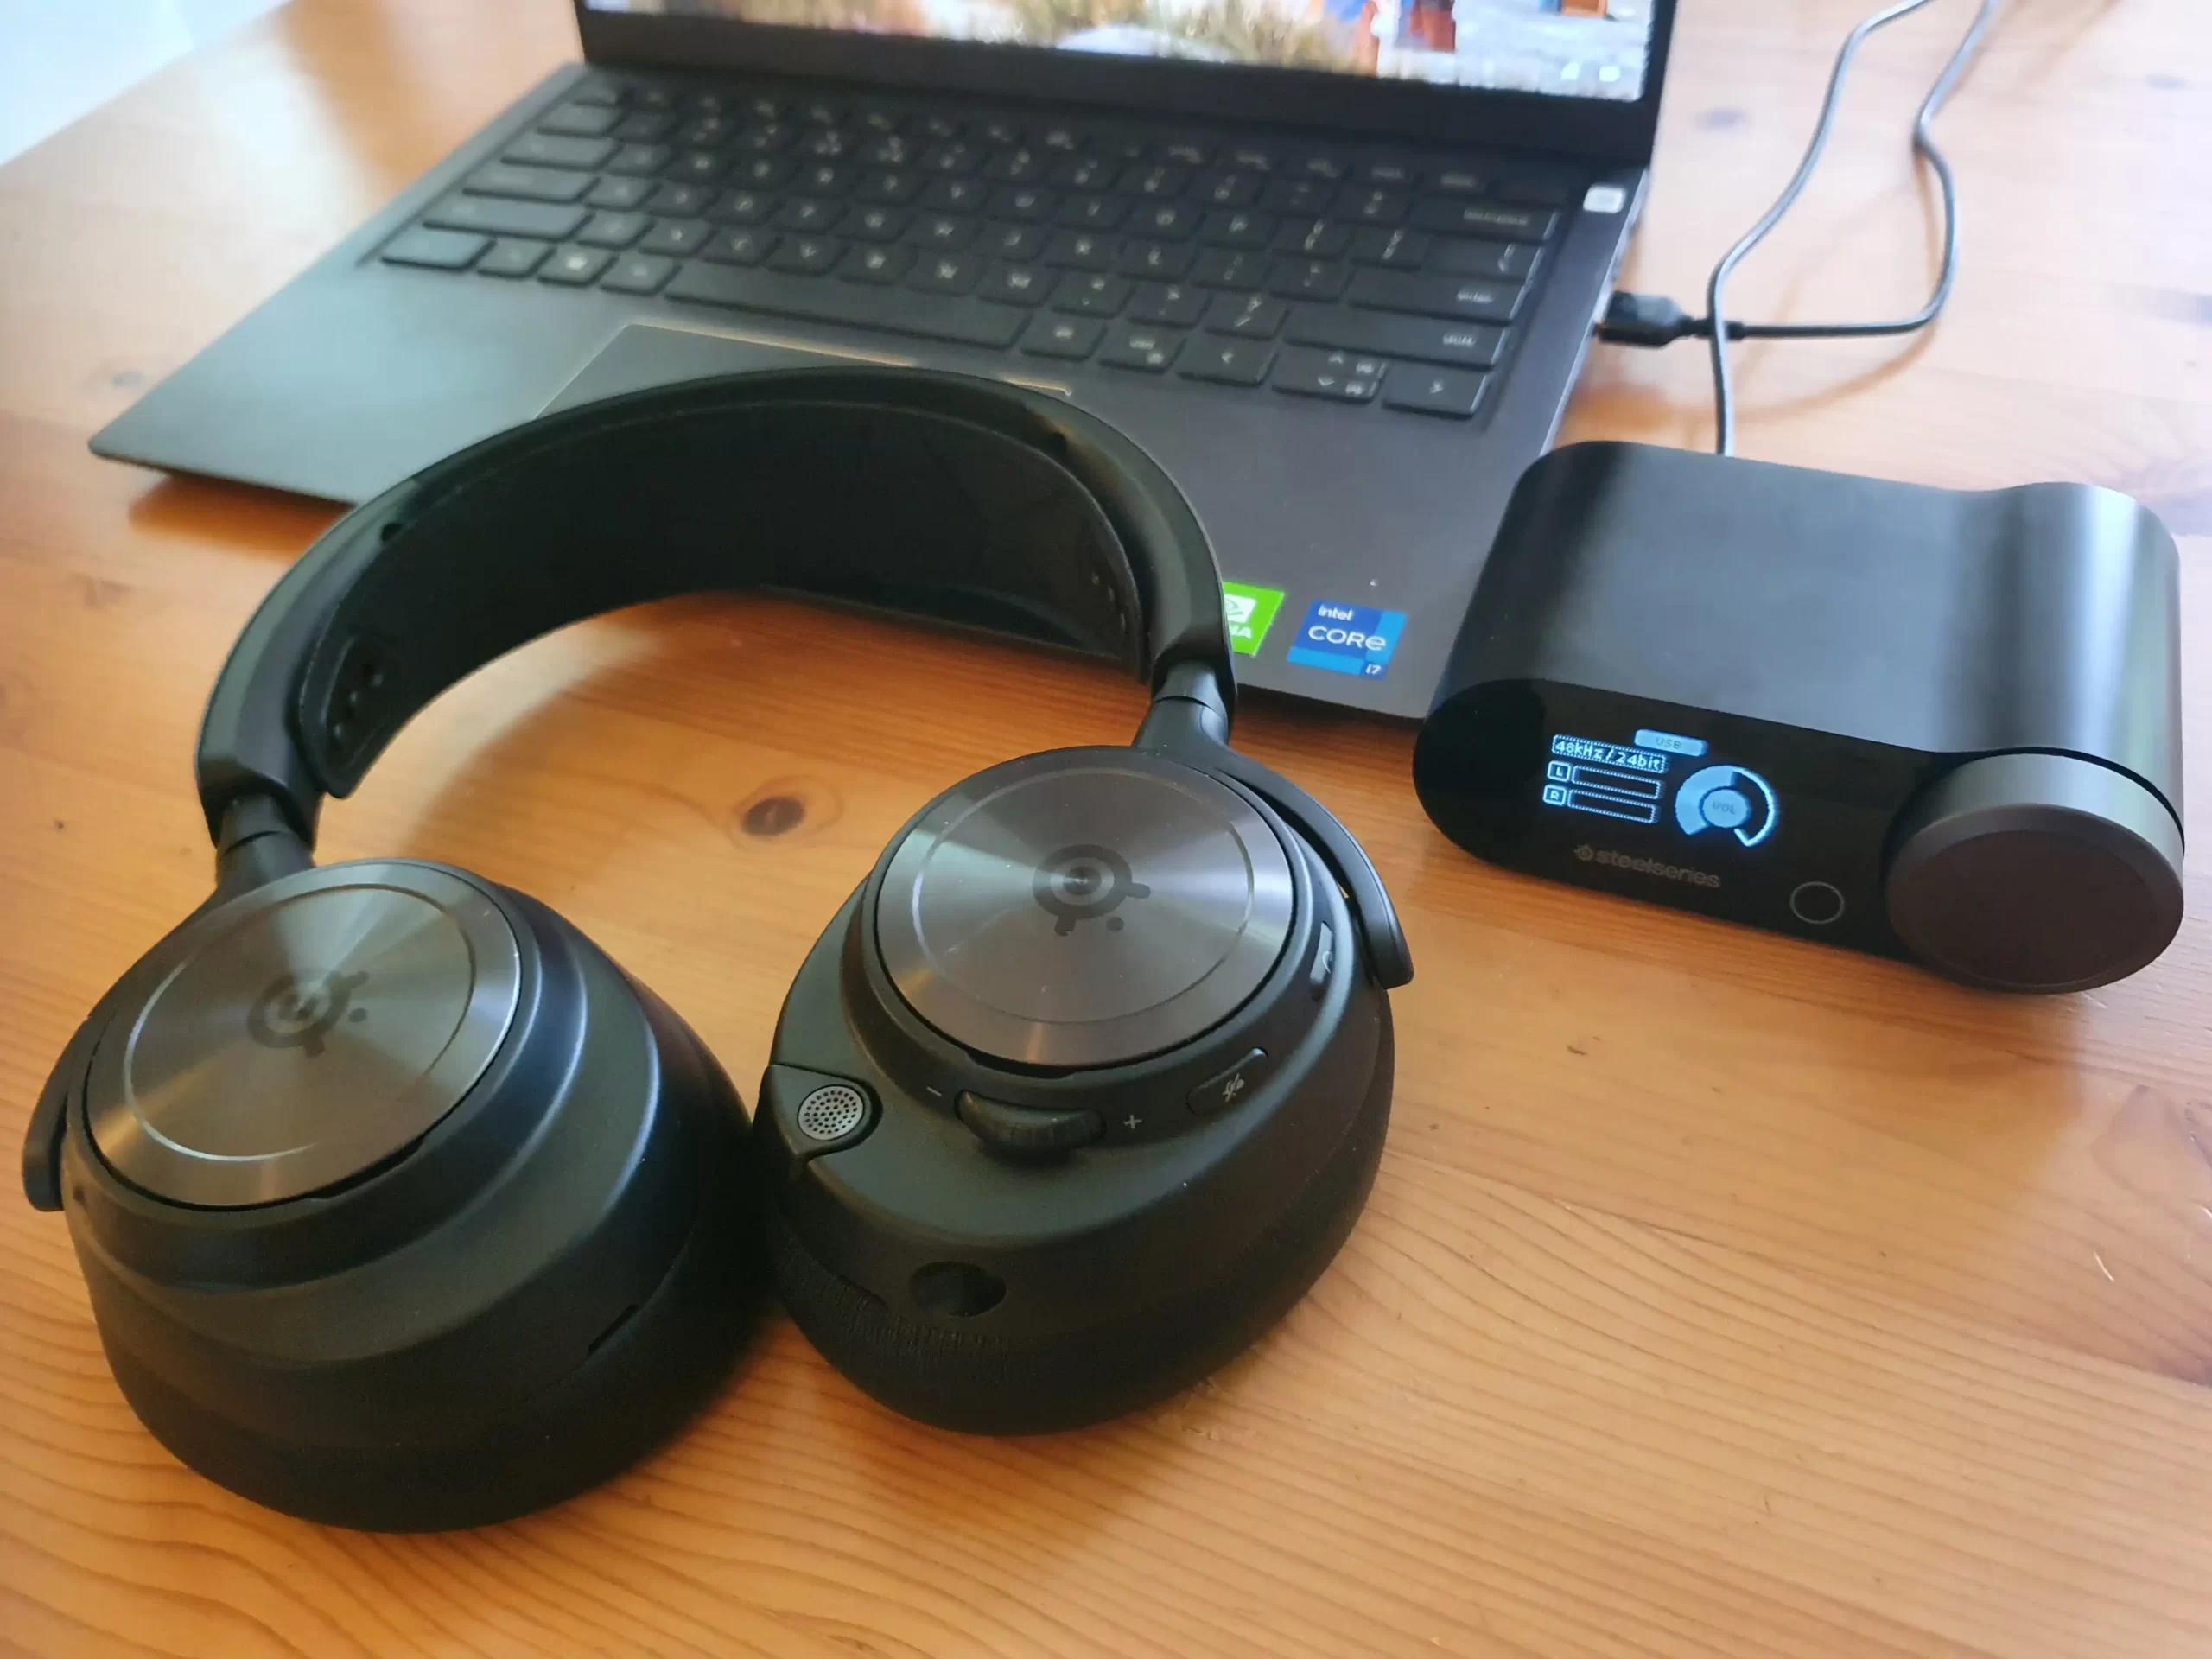
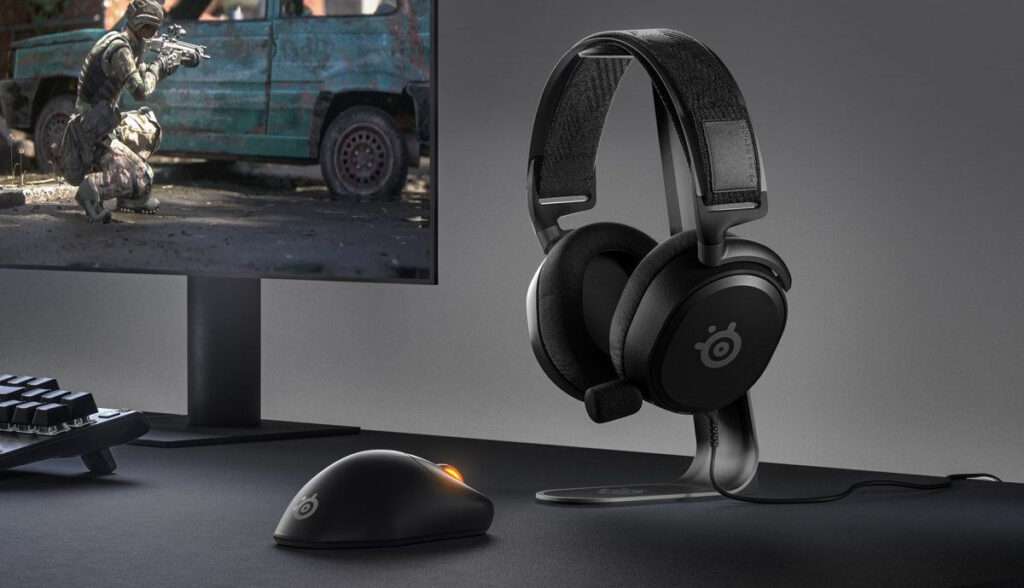
SteelSeries is a brand known for manufacturing gaming peripherals such as keyboards, headsets, and mice. If you’re a gamer, there’s a high chance that you’ve come across SteelSeries products or maybe even use them. In this article, we’ll be discussing how to connect a SteelSeries headset to a PC or Laptop.
How to Connect SteelSeries Headset to Pc/Laptop
Before we delve into the steps required to connect a SteelSeries headset to a PC/Laptop, it’s essential to know that the steps may vary slightly, depending on the specific SteelSeries product you’re using. However, the general steps are pretty much the same for all SteelSeries headsets, so you should be able to follow them regardless of the product you’re using.

Step 1: Ensure Your PC Meets the Requirements
Before you attempt to connect your SteelSeries headset to your PC, you should ensure that your computer meets the requirements to run it. SteelSeries headsets are typically compatible with Windows and Mac operating systems. Ensure that your PC is running on one of these operating systems and that you have all the necessary software required for the headset to function correctly.
Step 2: Connect the Headset to Your PC
Once you’ve checked that your PC meets the requirements, the next step is to connect your SteelSeries headset to your computer. This process may vary slightly depending on the headset model you’re using. However, it typically entails connecting the audio and microphone cables to the respective ports on your PC.
If your SteelSeries headset uses a USB port for connection, plug it into an available USB port in your PC. You should hear a recognition sound from your PC signaling that the headset is now connected and ready for use.
Step 3: Install the Required Software
If your SteelSeries headset comes with specific software, download and install it on your PC. The SteelSeries Engine 3 software is compatible with most SteelSeries headsets and can be downloaded from their website. After downloading the software, run it and install it on your PC to gain access to advanced features and settings.
Step 4: Configure the Headset Settings
The SteelSeries Engine 3 software allows you to customize various headset settings. Using the software, you can adjust the microphone volume, noise cancellation, equalizer settings, and RGB lighting (if supported). To access these settings, open the SteelSeries Engine 3 software and navigate to the specific headset settings tab.
Some SteelSeries models have a volume knob or an inline remote, which you can use to adjust the volume, mute the microphone, or even switch between different audio modes. If your headset comes with such features, be sure to configure them as necessary.
Step 5: Test the Headset
Now that you’ve successfully connected your SteelSeries headset to your PC, it’s time to test it to ensure it’s working correctly. Launch your favorite game or media player and test the audio and microphone quality. If you hear any strange sounds or the microphone isn’t working as expected, check your headset settings to ensure they’re correctly configured.
Conclusion
In conclusion, connecting a SteelSeries headset to a PC is relatively easy, the process can be done in four steps, including ensuring that your PC meets the requirements, connecting the headset to your PC, and installing the required software. Once the software is installed, you can configure settings such as microphone volume and equalizer settings, among others, using the SteelSeries Engine 3 software. Finally, test your headset to ensure it’s working correctly, and enjoy your gaming experience.

