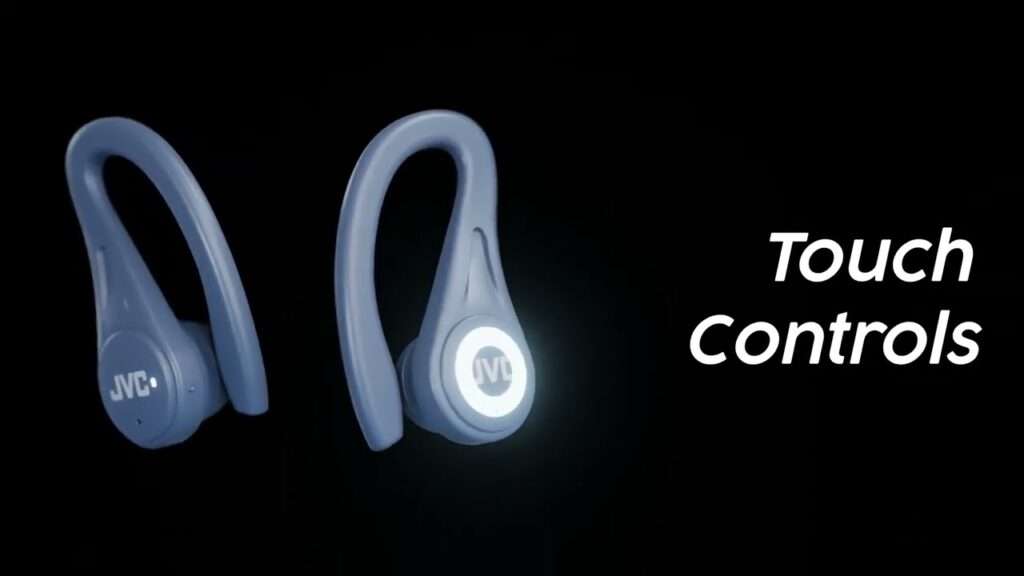
Wireless earbuds have revolutionized the way we listen to music and communicate on the go. Among the numerous options available, JVC wireless earbuds stand out for their exceptional sound quality and user-friendly features. Pairing these earbuds to your device seamlessly is essential to enjoy their full potential.
How to Pair JVC Wireless Earbuds
In this article, we will provide you with a step-by-step guide on how to pair JVC wireless earbuds, ensuring you can effortlessly connect them to your devices and enjoy a wire-free audio experience.
Step 1: Prepare Your JVC Wireless Earbuds:
Before you begin the pairing process, make sure your JVC wireless earbuds are fully charged. To do this, place the earbuds in their charging case and connect them to a power source using the provided USB cable. Once charged, remove the earbuds from the case and ensure both earbuds are powered on. Most JVC earbuds have a power button located on either the side or the front of the earbud.
Step 2: Preliminary Device Preparation:
On the device you wish to pair your JVC earbuds with, ensure that the Bluetooth functionality is enabled. This can usually be done by accessing the device’s settings menu and navigating to the Bluetooth section. Turn on Bluetooth if it’s not already activated and put the device in pairing mode. Depending on the operating system, this could be done by either selecting “Pair new device” or “Search for devices.”
Step 3: Engage Pairing Mode on JVC Wireless Earbuds:
To enable pairing mode on your JVC wireless earbuds, press and hold the power button on either earbud for about five to ten seconds. Once pairing mode is enabled, the earbuds’ LED lights will start flashing or blinking rapidly to indicate they are ready to be paired.
Step 4: Pairing JVC Earbuds with Your Device:
On your device, look for the name of your JVC earbuds listed under the available Bluetooth devices. It is usually displayed as “JVC” Select the name to begin the pairing process. Once you’ve selected the device, a prompt may appear asking for a passkey or PIN code. However, most JVC earbuds automatically connect without requiring a passkey.
Step 5: Confirmation and Finalization:
When the pairing process is successful, you will receive a confirmation message on your device. Additionally, the LED lights on your JVC earbuds will stop flashing and remain solid, indicating that the connection is established. At this point, you can test the connection by playing a song or video on your device. Ensure the audio output is set to the JVC earbuds and enjoy the wire-free audio experience they offer.
Conclusion:
Pairing your JVC wireless earbuds to your device is a straightforward process that allows you to enjoy the freedom of wire-free audio. By following the steps outlined in this guide, you can effortlessly connect your JVC earbuds and experience audio quality at its best.


