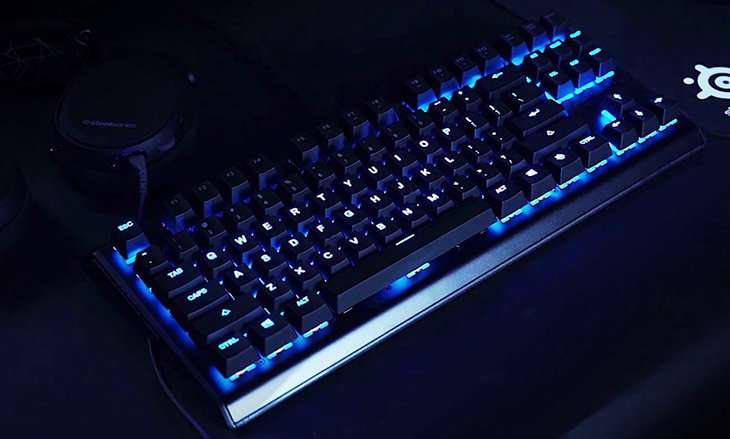
SteelSeries keyboards are an excellent choice for the avid gamer. They feature excellent build quality, provide quick response times, and have customizable RGB lighting.
How to Remove Keys from SteelSeries Keyboard
However, one problem that some users may face is the removal of keys for cleaning or customization. Removing keys from a SteelSeries keyboard is not a difficult task and can be done easily with the right tools and guidance.
Why Remove Keys?
Key removal is necessary for various reasons, including cleaning spills, dust, dirt, or other debris that may accumulate on or underneath the keys. Keycaps can stain, especially if you are a heavy user and suffer from sweaty palms. Another reason is customization. Many users choose to replace their keys with longer, rubberized keycaps or add a personalized touch to their setup.
Tools Required for Removing Keys
Before starting to remove keys from the SteelSeries keyboard, you should gather the necessary tools. You will need a keycap puller, also known as a keycap remover or keycap extractor. This tool has two hooks designed to fit into the sides of the keycap, lifting it out of its socket. Using a keycap puller ensures that you will not damage the surrounding keys or the keyboard itself during the removal process.
Step-by-Step Guide for Removing Keys
Note: It is essential to avoid the use of sharp objects or metal tools that might scratch or cause permanent damage to the keycaps or keyboard.
1. Turn Off the Keyboard
Before removing any keycap from the keyboard, it is necessary to turn off the keyboard. This step will prevent any unwanted keystrokes from occurring during the removal process.
2. Insert the Keycap Puller
Locate the keycap you wish to remove, insert the keycap puller into either side of the keycap, and apply an even amount of pressure to both sides.
3. Lift the Keycap
Once the keycap puller hooks have been inserted, lift the keycap gently but firmly. The keycap should pop out easily without much resistance, revealing the switch or membrane underneath.
4. Clean the Keycap and Keyboard
After removing the keycap, use a clean and dry cloth to wipe away any dirt, debris, or stains from the bottom of the keycap and the switch or membrane on the keyboard itself. For tougher stains, you might need to use a gentle cleaning solution, making sure to avoid any water or liquids from entering the switches.
5. Replace or Customize the Keycap
After cleaning, align the keycap correctly, put the keycap back into the socket, and press down evenly until it snaps back into place. To customize the keycap, switch it out with another keycap of your choice, align the connection points, and gently apply pressure to snap it into place.
Tips to Keep in Mind
As you remove the keys, remember to avoid using excessive force or damaging the surrounding keys or keyboard. It is essential to keep the keycaps and keyboard clean and free of dirt, dust, or debris, as this will ensure optimal keyboard performance and longevity.
Final Words
In conclusion, removing keycaps from a SteelSeries keyboard requires minimal effort and tools, and the process can be completed quickly and safely by following the steps outlined above. Whether for cleaning or customization purposes, removing keycaps is an excellent way to add a personal touch to your gaming setup and keep it looking and performing at its best.

