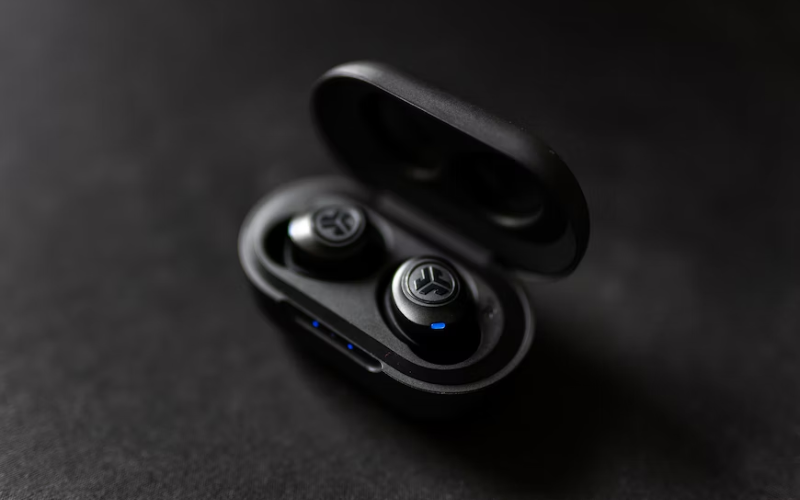
JLab earbuds are known for their superior sound quality and comfortable fit. However, like any electronic device, they may experience occasional issues that require a reset.
How to Reset JLab Earbuds
This article will provide you with a comprehensive step-by-step guide on how to reset your JLab earbuds, allowing you to quickly resolve any connectivity or performance problems.
The Importance of Resetting JLab Earbuds:
Before delving into the reset process, it’s essential to understand why resetting your JLab earbuds can be valuable. A reset effectively refreshes their software and clears any temporary glitches or faulty settings that might lead to issues like audio dropouts, charging problems, or connection difficulties. By performing a reset, you can often restore your earbuds to their optimal functionality and enhance your listening experience.
Steps to Reset JLab Earbuds:
Follow these simple steps to reset your JLab earbuds:
Identify the multifunction or power button on your earbuds. Depending on the model, it may be a single button or multiple buttons.
2. Power off your earbuds:
Ensure your earbuds are turned off by pressing and holding the power button for a few seconds until the LED indicator light turns off.
3. Enter pairing mode:
Once the earbuds are powered off, press and hold the multifunction button for around 10 seconds. Keep holding until you see the LED indicator light flashing rapidly. This signifies that your earbuds have entered pairing mode.
4. Disconnect from all devices:
To fully reset your earbuds, remove them from any connected devices (such as smartphones or tablets) by navigating the Bluetooth settings and selecting “Forget Device” or “Remove Device.”
5. Reset the charging case (if applicable):
If resetting the earbuds alone doesn’t resolve the issues, you might also need to reset the charging case. Locate the reset button on the case (usually within the charging port) and press and hold it for a few seconds.
6. Reconnect the earbuds:
After resetting, put your JLab earbuds back into pairing mode by pressing and holding the multifunction button until the LED indicator light starts flashing rapidly. Then, reconnect them to your device by searching for available Bluetooth devices and selecting your JLab earbuds from the list.
Troubleshooting Tips:
Even after resetting your JLab earbuds, you may encounter persistent issues. Here are a few helpful troubleshooting tips:
a) Ensure both earbuds are fully charged: A low battery can lead to various problems. Make sure to charge both earbuds adequately and confirm that the charging case is also fully charged.
b) Clean the earbuds: Accumulated dirt or debris can affect the audio quality or create connectivity issues. Gently clean the earbuds and the charging contacts with a dry cloth or cotton swab.

c) Update firmware: Check if an updated firmware version is available for your JLab earbuds by visiting their official website or using the dedicated app. Firmware updates often address known issues and enhance performance.
d) Contact JLab support: If your JLab earbuds still exhibit problems, it is recommended to reach out to their customer support. They can provide personalized assistance and additional troubleshooting steps.
Conclusion
Resetting your JLab earbuds can be a quick and effective solution to resolve any issues you may encounter. By following the step-by-step guide outlined in this article, you can easily reset your earbuds and enjoy uninterrupted, high-quality audio once again.

