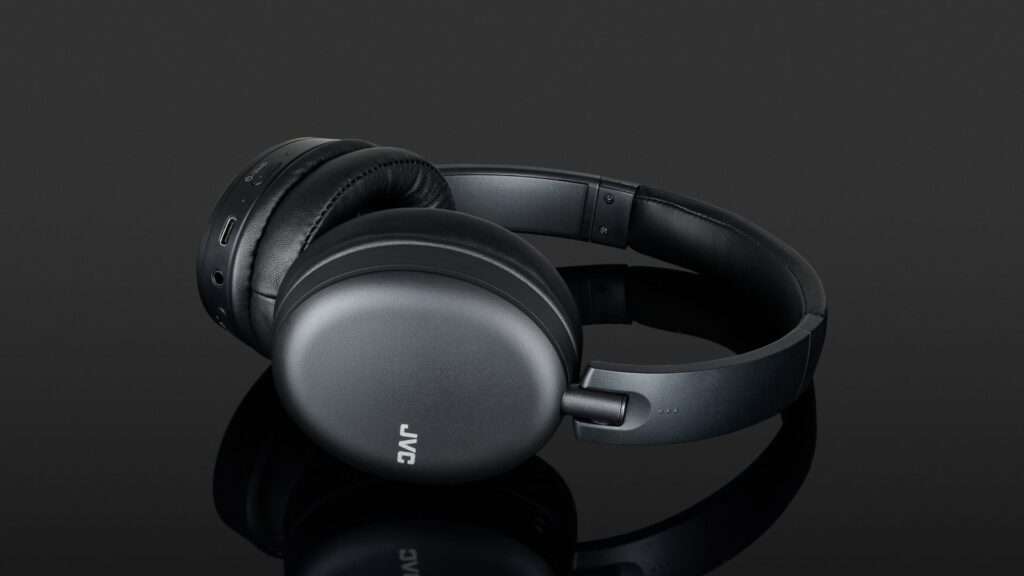
Are you having trouble with your JVC Bluetooth headphones and need to reset them? Don’t worry, we’ve got you covered. In this article, we will guide you step-by-step on how to reset JVC Bluetooth headphones, so you can enjoy your music again in no time!
How to Reset JVC Bluetooth Headphones
Before we dive into the reset process, it’s essential to understand why you might need to reset your JVC Bluetooth headphones. There could be various reasons such as connectivity issues, pairing problems, or simply a malfunctioning headphone. Resetting the headphones can often resolve these issues and restore them to their factory settings.
Now, let’s get into the steps on how to reset JVC Bluetooth headphones:
Step 1: Turn off your JVC Bluetooth headphones by pressing and holding the power button until the LED indicator light turns off. This step is crucial to ensure a proper reset.
Step 2: Once the headphones are turned off, locate the multi-function button on the earcup. This button is usually marked with an icon such as a phone or music note.
Step 3: Press and hold the multi-function button for about 15-20 seconds. You should observe the LED indicator light flashing rapidly during this timeframe.
Step 4: Release the multi-function button after the LED indicator light stops flashing. This signals that your JVC Bluetooth headphones have been successfully reset.
Step 5: Now, turn on your JVC Bluetooth headphones by pressing the power button. You will notice that the LED indicator light turns on, indicating that the headphones are ready for pairing.
Step 6: Open the Bluetooth settings on your preferred device (e.g., smartphone, tablet, or computer).
Step 7: Search for available Bluetooth devices and select the JVC Bluetooth headphones from the list of available devices. Once selected, the pairing process will initiate.
Step 8: Follow the on-screen instructions to complete the pairing process. This may include entering a passcode or confirming a pairing request.
Step 9: Once the pairing is successful, you can test the connectivity by playing some music or making a phone call. If everything works correctly, congratulations, you have successfully reset your JVC Bluetooth headphones!
In case the reset process didn’t resolve your issue, you may want to try a few additional troubleshooting steps. Firstly, ensure that your JVC Bluetooth headphones are fully charged. Sometimes, a low battery level can cause connectivity problems. If the issue persists, try resetting the Bluetooth settings on your device and repeat the pairing process from scratch. If none of these step’s work, it might be time to contact JVC’s customer support for further assistance.
Conclusion
In conclusion, resetting your JVC Bluetooth headphones is a straightforward process that can help resolve various issues. By following the step-by-step guide mentioned above, you should be able to reset your headphones and enjoy your music wirelessly again. Remember to consult the user manual or reach out to customer support if you encounter any difficulties during the reset process.


