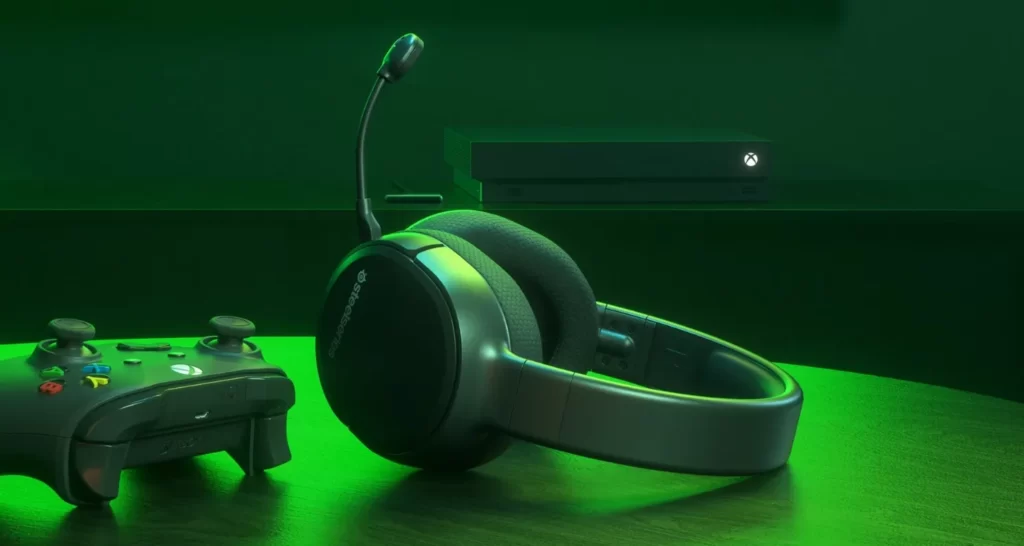
Are you a gamer looking to enhance your gaming experience on Xbox One? One way to do that is by setting up your SteelSeries headset with your console. SteelSeries is known for producing high-quality gaming accessories, and their headsets are no exception. Whether you’re playing multiplayer games or immersing yourself in a solo adventure, a SteelSeries headset can provide exceptional audio quality and comfort. In this article, we will guide you through the step-by-step process of setting up your SteelSeries headset with Xbox One.
How to Setup SteelSeries Headset to Xbox One
Before you start the setup process, make sure you have all the necessary equipment. You will need your SteelSeries headset, the Xbox One console, the Xbox One controller, and the necessary cables.
Firstly, let’s start by connecting your headset to the Xbox One controller. Locate the 3.5mm audio jack on the bottom of your controller. You will notice that the SteelSeries headset comes with a corresponding 3.5mm audio connector. Simply plug the connector into the audio jack on the controller. This connection will allow you to transmit both game audio and chat audio through your headset.
Next, turn on your Xbox One console and sign in to your account. Once you’re on the home screen, locate the “Settings” icon in the top right corner. Press the Xbox button on your controller to open the Guide, then navigate to the “System” tab and select “Settings.” In the settings menu, look for the “Audio” option and click on it.
Within the “Audio” settings, you will find various options to configure your audio output. Make sure the “Headset format” is set to “Stereo Uncompressed.” This setting will provide you with the best audio quality for your SteelSeries headset. Additionally, you can adjust the headset volume and microphone monitoring preferences according to your preferences.
Now that you have configured the audio settings on your Xbox One, it’s time to customize the settings on your SteelSeries headset. While the specific steps may vary depending on the model of your headset, the general process remains the same. Locate the volume control and microphone mute buttons on the headset. Use these buttons to adjust the volume and mute the microphone as desired.
Some SteelSeries headsets also come with additional features, such as virtual surround sound and customizable EQ settings. Refer to the instruction manual that came with your headset to learn how to access and modify these settings. Adjusting the audio settings on your headset can further enhance your gaming experience by providing you with optimal sound quality tailored to your preferences.
Once you have completed the setup process, put on your SteelSeries headset and start enjoying your favorite games on Xbox One. Whether you’re engaging in intense multiplayer battles or fully immersing yourself in a gripping storyline, your SteelSeries headset will deliver outstanding audio quality, allowing you to hear every detail and immerse yourself in the world of gaming.
Conclusion
In conclusion, setting up your SteelSeries headset with Xbox One is a simple process that can significantly enhance your gaming experience. By following the steps outlined in this article, you can effortlessly connect your headset to your Xbox One controller, configure audio settings on both the console and the headset, and start enjoying high-quality audio while gaming. Remember to refer to the instruction manual that accompanies your specific SteelSeries headset for more detailed instructions and additional customization options. Happy gaming!

