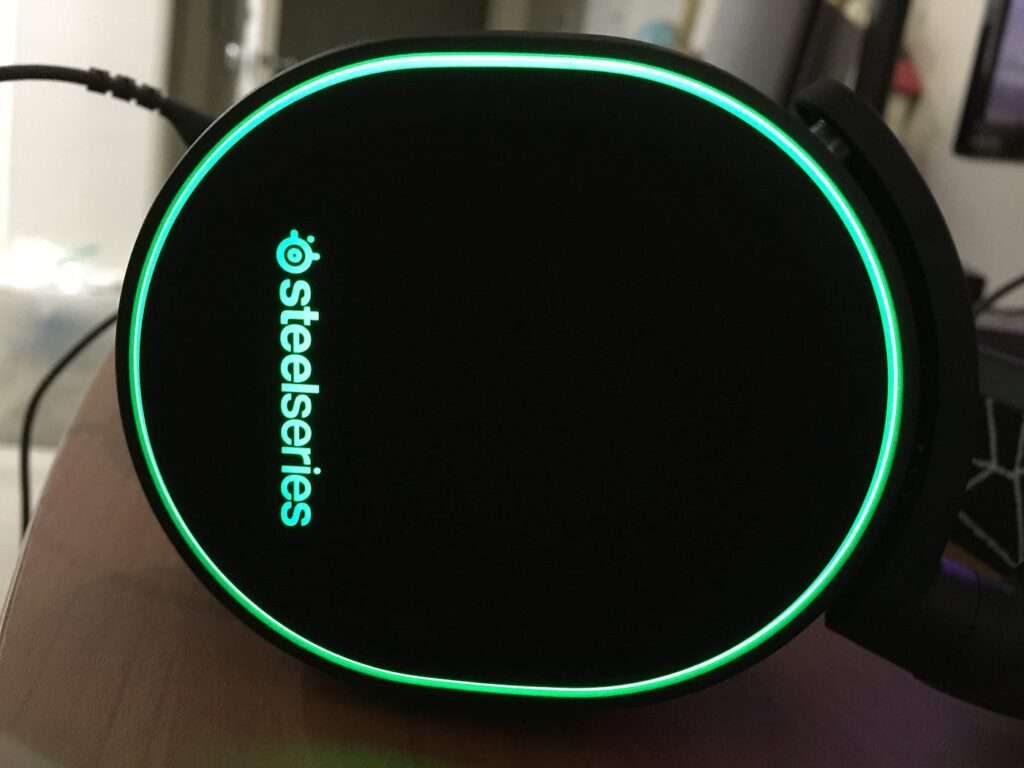
Audio equipment has become a staple in our daily lives, especially during these pandemic times, as most of us work remotely. SteelSeries Arctis 5 is one of the most popular gaming headsets amongst gamers and audio enthusiasts for its exceptional sound quality and comfort. However, many users struggle with the process of turning on the lights on their SteelSeries Arctis 5. If you’re one of those users, don’t worry, we’ve got you covered. In this article, we’ll take you through the step-by-step process of how to turn on the lights on SteelSeries Arctis 5, so you can enjoy your headset’s immersive LED lighting experience.
How to Turn on Lights on SteelSeries Arctis 5
First things first, you need to download the SteelSeries Engine 3 software from the official SteelSeries website and install it on your computer. The software is compatible with both Windows and Mac operating systems, so you can use it regardless of what type of computer you have. Once you have installed the software, you need to follow the following steps to turn on the lights on your SteelSeries Arctis 5 headset.
Step 1: Connect Your Headset To Your Computer
Before you can turn on the lights on your SteelSeries Arctis 5 headset, you need to connect it to your computer via the USB cable provided. Once connected, the SteelSeries Engine 3 software will detect your headset, and you’ll be able to customize its settings.
Step 2: Launch the SteelSeries Engine 3 Software
Once you’ve connected your headset to your computer, you need to launch the SteelSeries Engine 3 software. You can do this by clicking on the icon on your desktop or by searching for it in your computer’s programs.
Step 3: Customize Your Lighting Settings
The SteelSeries Engine 3 software allows you to customize your SteelSeries Arctis 5 lighting settings according to your preferences. You can choose between different lighting effects such as breathing, color shift, and static, and adjust the brightness and intensity of the LED lights.
To do this, click on the “Settings” tab in the SteelSeries Engine 3 software’s main menu. From there, select the “Device” tab and click on “Arctis 5”. Here, you’ll see different lighting settings that you can customize according to your preferences.
Step 4: Turn on the Lights
Once you’ve customized your lighting settings, you need to turn on the lights on your SteelSeries Arctis 5 headset. To do this, click on the “Effects” tab in the SteelSeries Engine 3 software’s main menu. From there, select the “Arctis 5” tab, and you’ll see an option called “Lighting.” Click on the toggle switch next to “Lighting” to turn on the lights on your headset.
If you want to turn off the lights on your SteelSeries Arctis 5 headset, click on the toggle switch next to “Lighting” again, and the lights will turn off.
Step 5: Save Your Settings
Once you’ve customized your lighting settings and turned on the lights on your headset, it’s time to save your settings. Click on the “Settings” tab in the SteelSeries Engine 3 software’s main menu and select the “Profile” tab. From there, click on the “Save” button to save your profile settings.

You can now enjoy your SteelSeries Arctis 5 headset’s immersive LED lighting experience while listening to your music, playing your favorite games, or engaging in virtual meetings. With the SteelSeries Engine 3 software, you can customize your lighting settings and turn on or off the lights on your headset with ease.
Conclusion
Turning on the lights on your SteelSeries Arctis 5 headset is a simple process that anyone can do. With the SteelSeries Engine 3 software, you can customize your lighting settings and turn on or off the lights on your headset according to your preferences. We hope this article has helped you understand how to turn on the lights on your SteelSeries Arctis 5 headset and enjoy the headset’s immersive LED lighting experience.

