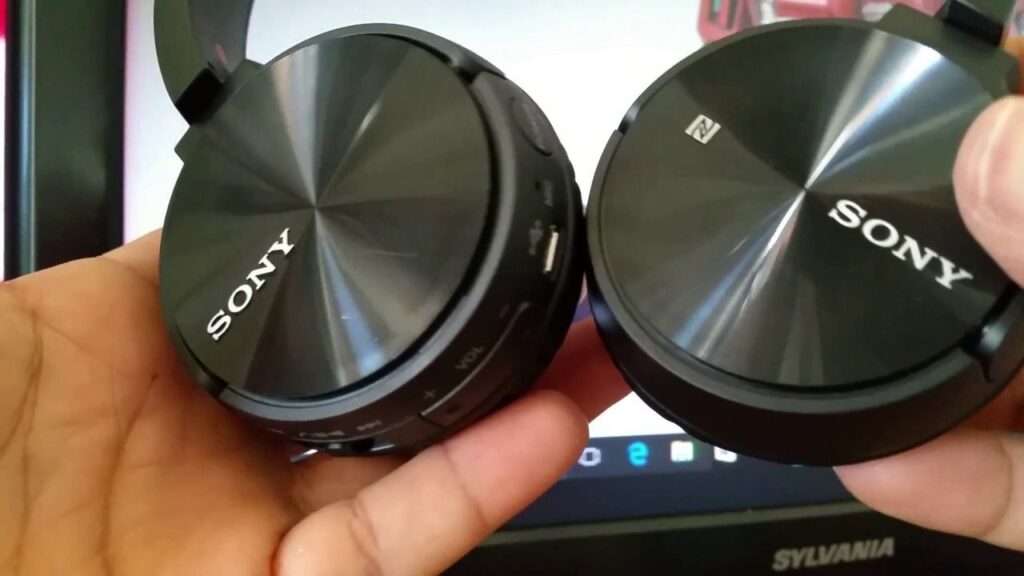
Adding your Sony headphones is a fairly straightforward process on Windows 10/11.
How to Add Sony Headphones to Windows 10
Here’s how to do it:
- Plug the USB port of your Sony headphones into an available USB port on your computer.
- After plugging in, you should see a notification appear at the bottom right corner of your screen saying “Installing Device Driver Software”. This means that Windows is installing the necessary drivers for your device – so wait until this process has finished before continuing.
- Once the installation is complete, open up Control Panel from either the Start menu or search bar and select ‘Sound’ under ‘Hardware and Sound’. The sound menu will appear with all available audio devices.
- Select your Sony headphones from the list of devices and click ‘Set Default’. This will set your device as the default audio output for your computer.
- Finally, select ‘Apply’ followed by ‘OK’ for the changes to take effect.
You should now be able to use your Sony headphones with Windows 10! If you’re having any further issues, make sure that all drivers are up-to-date, and that you have the latest version of Windows installed on your system. Additionally, if you find that some functions aren’t working correctly, try connecting a different set of headphones or repeating steps 1 through 5 above to ensure proper installation. Happy listening!


