If you’ve ever owned a pair of Beats by Dre headphones, you know how great they are. But you also know how difficult it can be to keep clean. Here are some tips on how to clean your Beats headphones so they look and sound their best.
If you’re a proud owner of Beats headphones, you know how important it is to keep them clean and well-maintained. Over time, dirt, sweat, and other debris can accumulate on the earpads and headbands, affecting the sound quality and overall appearance of your headphones.

But don’t worry, cleaning your Beats headphones is easy and can be done using a few simple tools and techniques. In this guide, we will provide you with step-by-step instructions on how to effectively clean your Beats headphones, including tips on how to remove stubborn stains and disinfect your headphones.
Whether you have the Beats Solo, Powerbeats, or Studio headphones, the process is similar and can be completed in just a few minutes. So, let’s get started and learn how to keep your Beats headphones looking and sounding their best!
How to clean Beats headphones
Beats headphones are renowned for their premium audio quality and sleek design. To maintain their performance and appearance, it’s crucial to know how to clean them properly. In this article, we will provide you with a clear and concise guide on how to clean Beats headphones.
1. Gather Your Supplies:
Before you begin cleaning your Beats headphones, gather the necessary supplies. You will need a soft, lint-free cloth, cotton swabs, a mild cleaning solution (water and a small amount of gentle dish soap), and a microfiber cloth for drying.
2. Power Off and Disconnect:
Make sure your Beats headphones are turned off and disconnected from any devices before you start cleaning. This prevents accidental damage and ensures your safety during the cleaning process.
3. Remove Ear Cushions and Ear Tips:
If your Beats headphones have removable ear cushions or ear tips, carefully remove them. These components can accumulate dirt and sweat over time, so cleaning them separately is essential.
4. Wipe Down the Headphones:
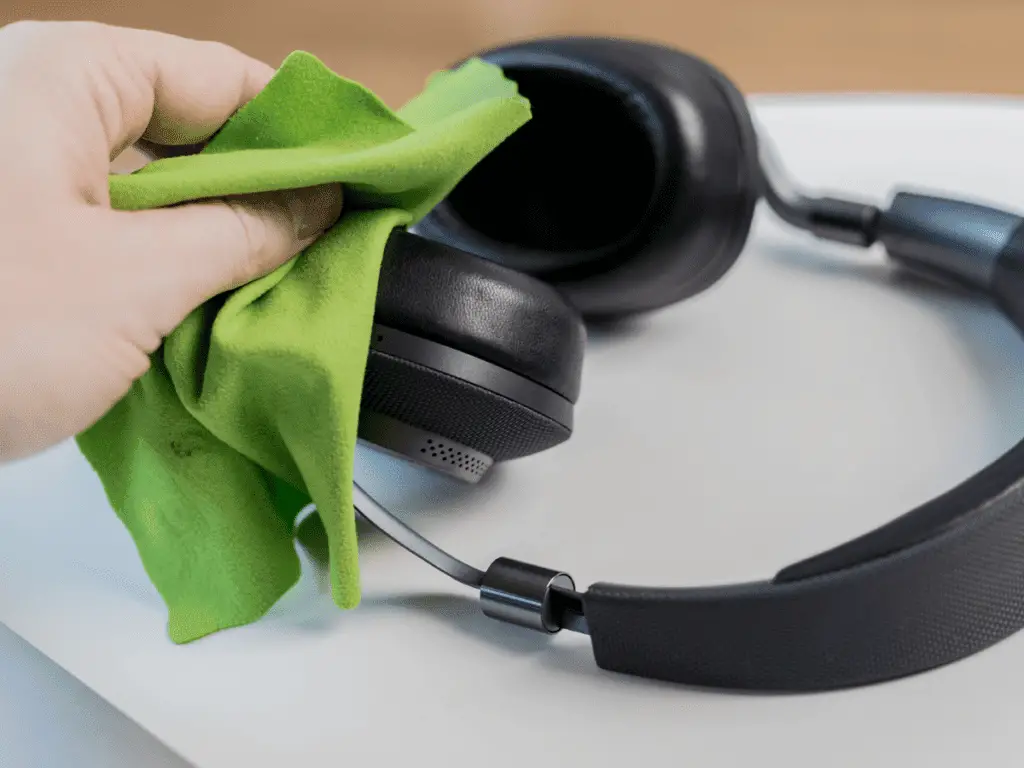
Dampen the soft, lint-free cloth with the mild cleaning solution. Gently wipe down the exterior of your headphones, paying attention to areas that come into contact with your skin or may accumulate grime, such as the headband, earcups, and buttons. Avoid getting moisture into the headphone’s speakers or charging ports.
5. Clean Ear Cushions and Ear Tips:
If your headphones have removable ear cushions and ear tips, soak them in warm, soapy water for a few minutes. After soaking, use a soft brush or cloth to clean them, then rinse and allow them to air dry completely before reattaching them to the headphones.
6. Clean the Earpads and Headband:
For headphones with non-removable ear cushions and headbands, use a cotton swab dampened with the cleaning solution to clean seams and crevices. Gently wipe away any dirt or residue.
7. Dry Thoroughly:
After cleaning, use a dry microfiber cloth to wipe away any remaining moisture from the headphones. Ensure they are completely dry before reassembling and using them again.
8. Regular Maintenance:
To keep your Beats headphones clean and well-maintained, establish a regular cleaning routine. Wipe them down with a soft cloth after each use to prevent dirt and oils from building up.
Additional Tips for Beats Headphones Care
Some additional tips for beats headphones care are mentioned below:
Avoid Harsh Chemicals:
Never use abrasive or harsh cleaning chemicals, as they can damage the headphone’s finish and materials.
Store Properly:
When not in use, store your Beats headphones in a protective case to prevent dust and debris from accumulating.
Protect the Cable:
Be gentle with the headphone cable, as it is a common point of wear and tear. Avoid bending it excessively or pulling it forcefully.
Experts Review
Start by removing the ear cushions. These can usually be peeled off by hand. If they’re really dirty, you can soak them in warm soapy water for a few minutes before scrubbing them with a soft brush. Rinse well and allow to air dry completely before replacing the headphone cups.
Next, use a slightly dampened cloth to wipe down the outside of the ear cups. Be careful not to get too much moisture inside the cups, as this can damage the electronics. If your headphones are particularly dirty, you can use mild soap on the cloth.
Once the ear cups are clean, move on to the headband. This can be wiped down with a damp cloth as well. If the headband is very dirty, you can try spot cleaning with mild soap. Again, be careful not to get too much moisture inside the headband, as this could damage the electronics.
Finally, wipe down the cord with a damp cloth. Pay special attention to the area where the cord meets the headphone jack, as this is often a magnet for dirt and grime. If your cord is very dirty, you can use a mild soap on the cloth. Rinse well and allow to air dry completely before using your headphones again.
By following these simple tips, you can keep your Beats headphones clean and sounding great for years to come.
Conclusion
In conclusion, keeping your Beats headphones clean and well-maintained is essential for preserving their sound quality and prolonging their lifespan. By following the cleaning tips outlined in this guide, you can easily remove dirt, sweat, and other debris from your headphones and keep them looking and sounding their best.
Remember to use gentle cleaning solutions and avoid using abrasive materials that can damage your headphones’ delicate surfaces. Additionally, make sure to disinfect your headphones regularly to prevent the buildup of bacteria and germs.
By taking good care of your Beats headphones and following these simple cleaning tips, you can enjoy high-quality sound and a clean, stylish look for years to come. So go ahead, grab your cleaning tools, and give your Beats headphones the TLC they deserve!

