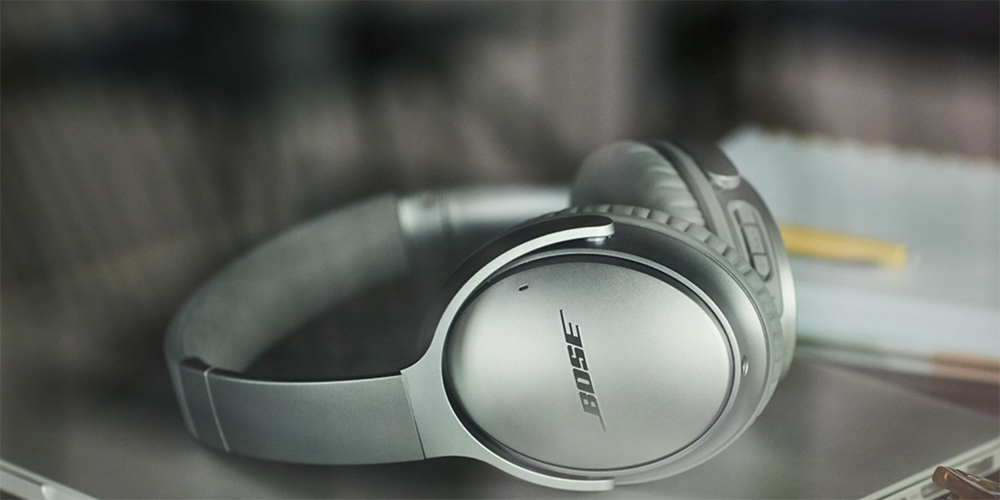
It’s important to clean your headphones regularly to ensure optimal sound quality. Over time, dirt and grime can build up in the headphone jack, causing audio issues. To clean your Bose headphones‘ jack, you’ll need a cotton swab and some rubbing alcohol.
How to Clean Bose Headphone Jack
First, turn your Bose headphones off and unplug them from any devices. Next, take a cotton swab and dip it in the rubbing alcohol. Gently insert the cotton swab into the headphone jack and rotate it a few times. Be careful not to push too hard, as you don’t want to damage the jack.
After a few rotations, remove the cotton swab and check for any dirt or debris that may have been dislodged. If necessary, repeat the process until the jack is clean. Once finished, you can wipe down the exterior of your headphones with a soft cloth.
With just a few simple steps, you can keep your Bose headphones sounding great for years to come!
Alternative Way to Clean Bose Headphone Jack
If you’re like most people, your Bose headphones are probably one of your most prized possessions. But even the best headphones can get dirty, especially the headphone jack. Here’s how to clean your Bose headphone jack and keep it looking and sounding great.
First, unplug your headphones from any connected devices. Then, use a can of compressed air to blow out any dirt or dust that may have accumulated in the jack. If you don’t have compressed air, you can try using a cotton swab or a toothpick to gently remove any debris.
Once you’ve removed all the visible dirt and dust, it’s time to disinfect the jack. You can do this by using a clean cotton swab dipped in rubbing alcohol. Gently wipe the cotton swab around the inside of the jack, being careful not to get any alcohol on the outside of the jack or on your headphones.
Let the alcohol dry completely before plugging your headphones back in. Your Bose headphone jack should now be clean and free of any dirt, dust, or bacteria!
Conclusion:
There you have it! A simple and effective way to clean your Bose headphone jack. By following these steps, you’ll keep your headphones sounding great and extend their lifespan. Thanks for reading!


