To reinstall Razer headset drivers, first, uninstall the existing drivers from your computer’s Device Manager. Then, visit the Razer support website to download the latest drivers like Razer audio drivers for your headset model. Run the downloaded installer file and follow the on-screen instructions to reinstall the drivers. Restart your computer if prompted.
In today’s digital age, where technology seamlessly integrates into our daily lives, having a reliable headset is essential for various activities, from gaming to conference calls. Razer, a renowned name in the gaming peripherals industry, offers cutting-edge headsets loved by gamers and professionals alike.
How to Reinstall Razer Headset Drivers
However, like any software-driven device, Razer headsets may encounter driver issues, causing disruptions in audio performance. If you’re facing such challenges, fear not! In this comprehensive guide, we’ll walk you through the process of reinstalling Razer headset drivers, ensuring optimal performance and a hassle-free experience.
Before diving into the reinstalling process, it’s crucial to understand why reinstalling drivers may be necessary. Driver issues can arise due to various reasons, such as software conflicts, outdated drivers, or corrupted files. Symptoms of driver problems include distorted audio, no sound output, or connectivity issues. Reinstalling the drivers can often resolve these issues, restoring your headset to its full functionality.
Step 1: Uninstall Existing Drivers
The first step in reinstalling Razer headset drivers is to uninstall the existing drivers from your system. To do this:
- Open the Device Manager on your computer. You can access it by right-clicking on the Start menu and selecting “Device Manager.”
- Locate the “Sound, video, and game controllers” section and expand it.
- Right-click on your Razer headset device and select “Uninstall device.”
- Follow the on-screen prompts to complete the uninstallation process.
Step 2: Download the Latest Drivers
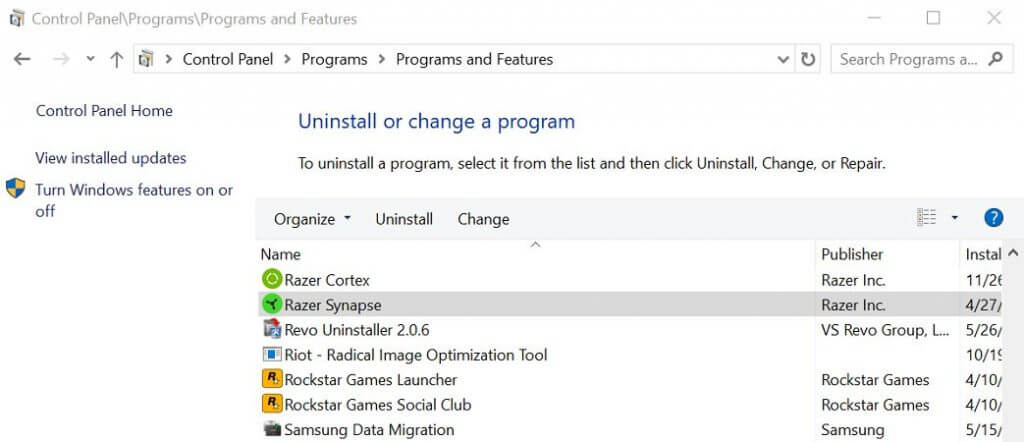
After uninstalling the existing drivers, you’ll need to download the latest drivers for your Razer headset. Visit the official Razer website or use the Razer Synapse software to download the appropriate drivers for your headset model. Ensure that you’re downloading the correct drivers compatible with your operating system.
Step 3: Install the New Drivers
Once you’ve downloaded the latest drivers, it’s time to install them on your system. Follow these steps:
- Locate the downloaded driver file on your computer and double-click to run it.
- Follow the on-screen instructions in the installation wizard to proceed with the driver installation.
- Once the installation is complete, restart your computer to apply the changes.

Step 4: Test Your Headset
After reinstalling the drivers and restarting your computer, it’s essential to test your Razer headset to ensure that the issues have been resolved. Connect your headset to your computer and play some audio or engage in a voice chat to verify that the audio output is clear and consistent. If you encounter any further issues, double-check the connections and settings or consider reaching out to Razer support for assistance.
Additional Tips:
- Regularly update your Razer headset drivers to ensure optimal performance and compatibility with the latest software updates.
- Keep your operating system and Razer Synapse software up-to-date to avoid compatibility issues.
- If you’re experiencing persistent issues with your Razer headset, consider troubleshooting steps such as resetting the headset or testing it on another device to isolate the problem.
Experts Tips and Recommendations
Reinstalling your Razer headset drivers is an important step in keeping your audio device up-to-date and running smoothly. Here are the steps to reinstall Razer headset drivers:
- Go to the Razer website and download the latest version of their driver software for your specific headset model.
- Once downloaded, locate the file on your computer, right-click it, and select ‘Run as administrator’ from the menu that appears.
- Follow any installation instructions that appear on your screen before continuing with the next step.
- Plug in your headset to an available USB port or audio-out port depending on how it connects to your device, then wait for Windows to recognize the device and install the necessary drivers.
- Once installed, restart your computer if asked to do so by the software or Windows.
- You should now be able to use your headset as normal! If you experience any further problems with it, please contact Razer’s support team for help.
By following these steps, you should be able to quickly and easily reinstall the drivers for your Razer headset.
These steps should help you reinstall your Razer headset drivers easily and quickly. If you are still having trouble with the drivers after trying these steps, reach out to customer support for further assistance.
Conclusion
In conclusion, reinstalling Razer headset drivers can resolve various audio-related issues and ensure a seamless experience during gaming sessions or professional activities. By following the step-by-step guide outlined above, you can effectively address driver issues and enjoy uninterrupted audio performance from your Razer headset.

