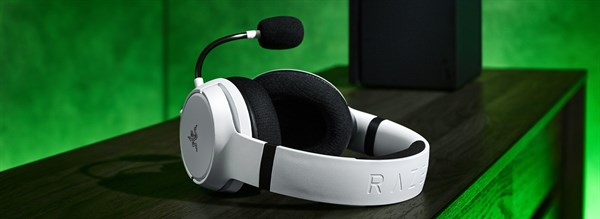
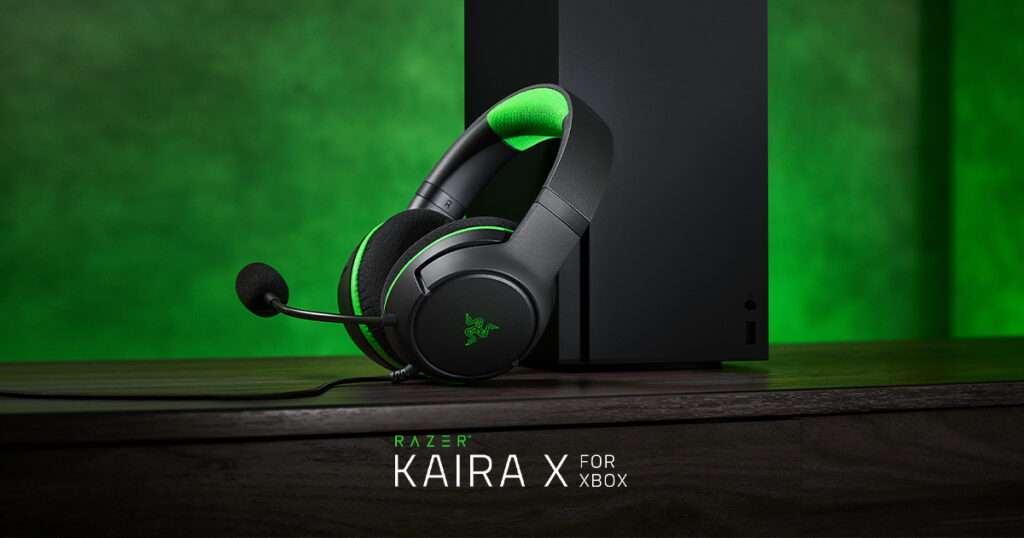
To connect a Razer headset to an Xbox, use the 3.5mm audio jack or USB connection, depending on the headset model. Plug the headset into the corresponding port on the Xbox controller or console. Adjust audio settings in the Xbox menu if needed. Check Razer’s specific product manual for detailed instructions.
How to Connect Razer Headset to XBOX
Connecting your Razer headset to your Xbox can enhance your gaming experience, immersing you in the world of sound and providing clear communication with your fellow gamers. In this guide, we will walk you through the steps to seamlessly connect your Razer headset to your Xbox, ensuring a hassle-free setup and optimal performance.
Understanding Compatibility:
Before delving into the connection process, it’s crucial to ensure that your Razer headset is compatible with your Xbox console. Razer headsets are known for their versatility, and most models work seamlessly with Xbox One, Xbox Series X, and Xbox Series S. Check your headset’s compatibility on the official Razer website or refer to the product documentation for detailed information.
Step 1: Check Your Xbox’s Available Ports
Different Xbox models come with various port configurations. The most common ports for headset connections are the 3.5mm audio jack and the USB port. Inspect your Xbox to identify the available ports and choose the appropriate connection method based on your Razer headset model.
Step 2: Connecting via 3.5mm Audio Jack
For headsets equipped with a 3.5mm audio jack, follow these steps:
- Locate the 3.5mm audio jack on your Xbox controller.
- Plug the 3.5mm connector of your Razer headset into the corresponding port on the controller.
- Power on your headset and adjust the volume to your preference.
Step 3: Connecting via USB
If your Razer headset comes with a USB connector, the process is equally straightforward:
- Locate an available USB port on your Xbox console.
- Insert the USB connector of your Razer headset into the USB port on the console.
- Power on your headset, and it should be automatically recognized by the Xbox.
Step 4: Adjusting Audio Settings on Xbox
To optimize your audio experience, adjust the audio settings on your Xbox:
- Navigate to the Xbox dashboard and select “Settings.”
- Choose “General” and then select “Volume & audio output.”
- Adjust the headset volume, mic monitoring, and other audio settings according to your preferences.
Troubleshooting Tips:
If you encounter any issues during the connection process, consider these troubleshooting tips:
- Ensure your Razer headset firmware is up-to-date by visiting the official Razer website.
- Check for any physical damage to the headset or Xbox ports.
- Test the headset on another device to confirm it’s functioning correctly.
Experts Review and Recommendation
The first step is to plug the headset’s audio cable into the headphone jack on your Xbox controller. Once connected, you can adjust the volume as needed through the Xbox’s menu or by using the volume dial on the headset itself.
If you are connecting a wireless Razer headset, you will need to grab an additional adapter for your setup. This can be purchased from any game store or online retailer and comes with instructions for how to connect it to your console. After connecting the adapter to your Xbox, follow the directions to pair your headset with your console via Bluetooth.
Once both are connected, ensure all your audio settings are how you want them to be. You can make these adjustments within the Xbox’s audio settings menu or by using the headset’s companion app if one is available.

And that’s it! After connecting your Razer headset, you can now enjoy your favorite games and entertainment in comfort and style. Whether wired or wireless, a Razer headset is an excellent choice for any Xbox user looking to enhance their gaming experience. Enjoy!
Note: Before purchasing any wireless headset, be sure to check that it is compatible with your Xbox console to avoid any confusion or inconvenience. Additionally, you may need to update your system’s software for the headset to work properly.
Conclusion
Connecting your Razer headset to your Xbox is a straightforward process that can significantly enhance your gaming experience. By following these steps and troubleshooting tips, you’ll be immersed in high-quality audio and clear communication, elevating your gaming sessions to new heights. Enjoy your gaming adventure with the perfect synergy between your Razer headset and Xbox console.
FAQs on Connecting Razer Headset to XBOX
- How to connect my Razer Headset to Xbox?
- How to connect Razer headset to Xbox One?
- How to pair Razer headset to Xbox?
How to Connect My Razer Headset to Xbox?
Connect your Razer headset to Xbox using the 3.5mm audio jack or USB, depending on the model. Plug it into the corresponding port on your Xbox controller or console. Adjust audio settings in the Xbox menu if necessary. Refer to the headset’s manual for specific instructions.
How to Connect Razer headset to the Xbox One?
Connect your Razer headset to Xbox One by plugging its 3.5mm jack into the controller’s 3.5mm port or using the USB port. Adjust audio settings in Xbox settings if necessary. For wireless Razer headsets, follow the manufacturer’s instructions for Xbox compatibility and connection procedures.
How to Pair Razer Headset to an Xbox?
For Razer wireless headsets, activate pairing mode on the headset and follow Xbox’s Bluetooth pairing process in settings. Ensure the headset is in discoverable mode. If using a wired headset, connect it directly to the Xbox controller’s 3.5mm port or USB port, adjusting settings as needed.

