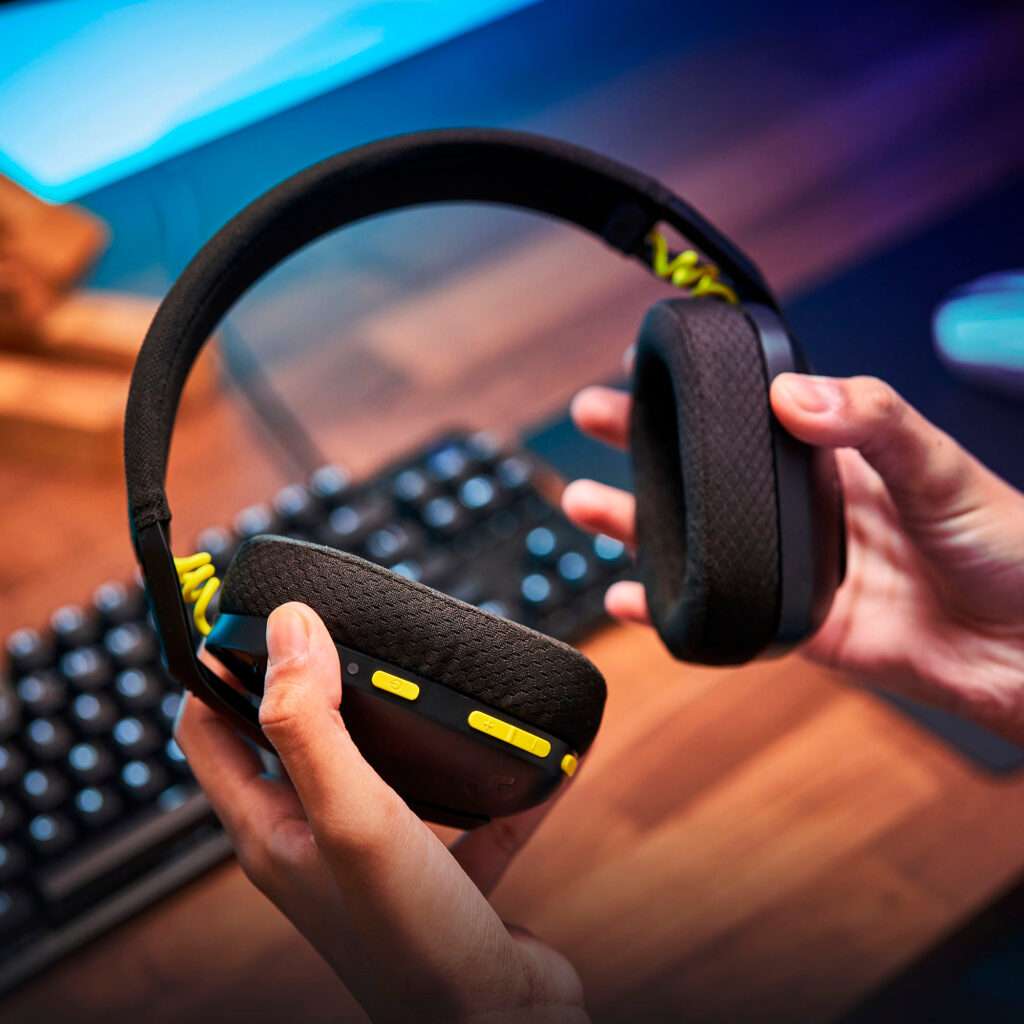
If you have a Logitech headset, you may be wondering how to set it up with Windows 10. The process is actually quite simple and only takes a few steps.
How to Setup Logitech Headset for Windows 10
- First, connect the headset to your computer using the appropriate cable. If you’re using a USB headset, simply plug it into a USB port on your PC. If you’re using an analog headset, you’ll need to connect it to the audio input and output jacks on your sound card or motherboard.
- Once the headset is connected, open the Control Panel and go to Sound. Under the “Playback” tab, find your Logitech headset and set it as the default device.
- Next, go to the “Recording” tab and set your best Logitech headset as the default recording device.
- Finally, open the Windows 10 Settings app and go to the “System” section. Select “Sound” and then scroll down to the “Input” section. Make sure the “Allow apps to access your microphone” switch is turned on.
That’s all you need to do! Once you’ve completed these steps, your Logitech headset should be working properly with Windows 10.

