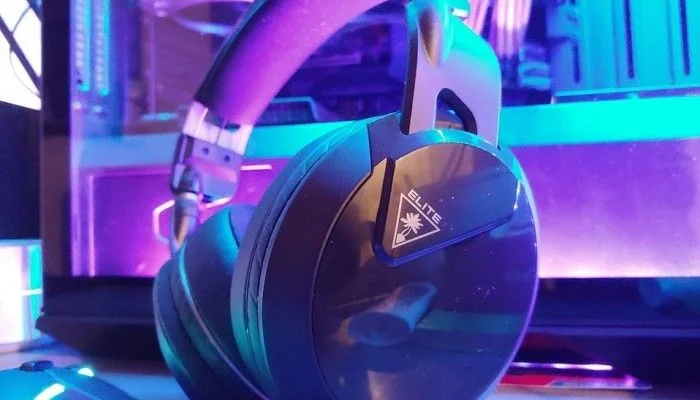
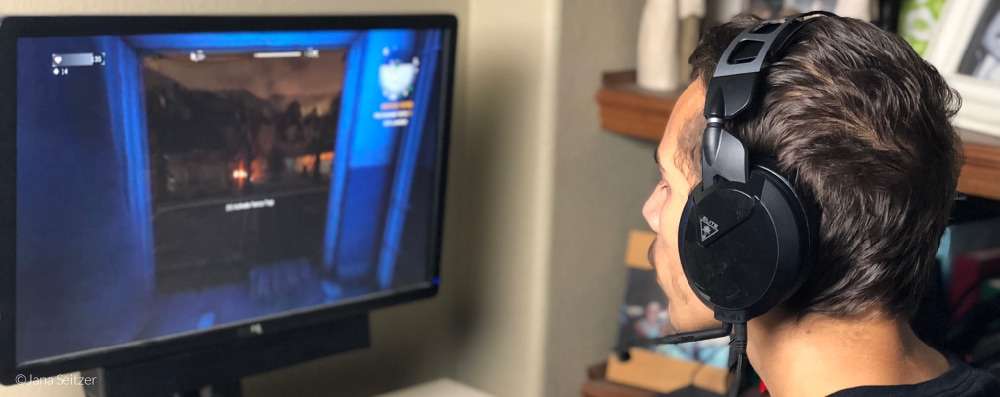
To set up a Turtle Beach headset on a PC, plug the headset’s audio jack into the corresponding port on the computer. If it’s a USB headset, plug it into an available USB port. Adjust audio settings in the PC’s control panel or settings menu if necessary.
Turtle Beach is a renowned brand when it comes to gaming headsets, offering exceptional sound quality and comfort. If you have recently purchased a Turtle Beach headset and are looking to set it up or connect with your PC/laptop, you’ve come to the right place.
How to Setup Turtle Beach Headset to PC
In this article, we will guide you through setting up your Turtle Beach headset to your PC, ensuring an enhanced gaming experience.
Step 1: Preparing your PC
Before starting the setup process, it is crucial to ensure that your PC is ready to connect with your Turtle Beach headset. Ensure that your PC has the necessary audio ports or adapters to support a headset. Most PCs have a 3.5mm audio jack or USB port that can be used to connect the Turtle Beach headset.
Step 2: Connect the Headset
Now that your PC is ready, it’s time to connect your Turtle Beach headset. The method of connection can vary depending on the model of your headset. If you have a headset with a 3.5mm audio jack, simply plug one end of the headset cable into the headset and the other end into the corresponding audio jack on your PC.
For headsets with a USB connection, plug the USB cable into an available USB port on your PC. This will provide both audio and power to your headset.
Step 3: Adjust System Sound Settings
Once your headset is connected, you need to adjust the sound settings on your PC to ensure that audio is transmitted through the Turtle Beach headset. On Windows, right-click on the speaker’s icon in the system tray and select “Open Sound settings.” Select the Turtle Beach headset as the default playback device in the sound settings. This will now route all audio through your headset.
Step 4: Fine-tune Headset Settings
To maximize your gaming experience, it’s important to fine-tune your Turtle Beach headset settings. Many Turtle Beach headsets come with additional software or control panels that allow you to customize the audio experience further.
Visit the Turtle Beach website and search for the model-specific software or control panel available for your headset. Download and install it on your PC. This software will allow you to adjust audio settings like equalization, microphone input, and surround sound. Experiment with these settings to find the optimal balance for your gaming needs.

Step 5: Testing and Final Adjustments
After completing the setup process, test your Turtle Beach headset to ensure it works correctly. Play your favorite game or watch a video with sound to check the audio quality. Adjust the volume using the headset’s built-in controls or the volume settings on your PC.
If you encounter any issues or notice any audio imbalances, consult the troubleshooting guide provided by Turtle Beach for additional support. They usually have a dedicated support section on their website where you can find troubleshooting tips for common headset issues.
Conclusion
In conclusion, setting up your Turtle Beach headset on your PC is a fairly straightforward process. By following these steps, you can enjoy an immersive and high-quality audio experience while gaming on your PC.
Remember to take advantage of any additional software or control panels provided by Turtle Beach to customize your audio settings and maximize your enjoyment. Now, gear up, jump into your favorite game, and let your Turtle Beach headset enhance your gaming experience to the next level!

