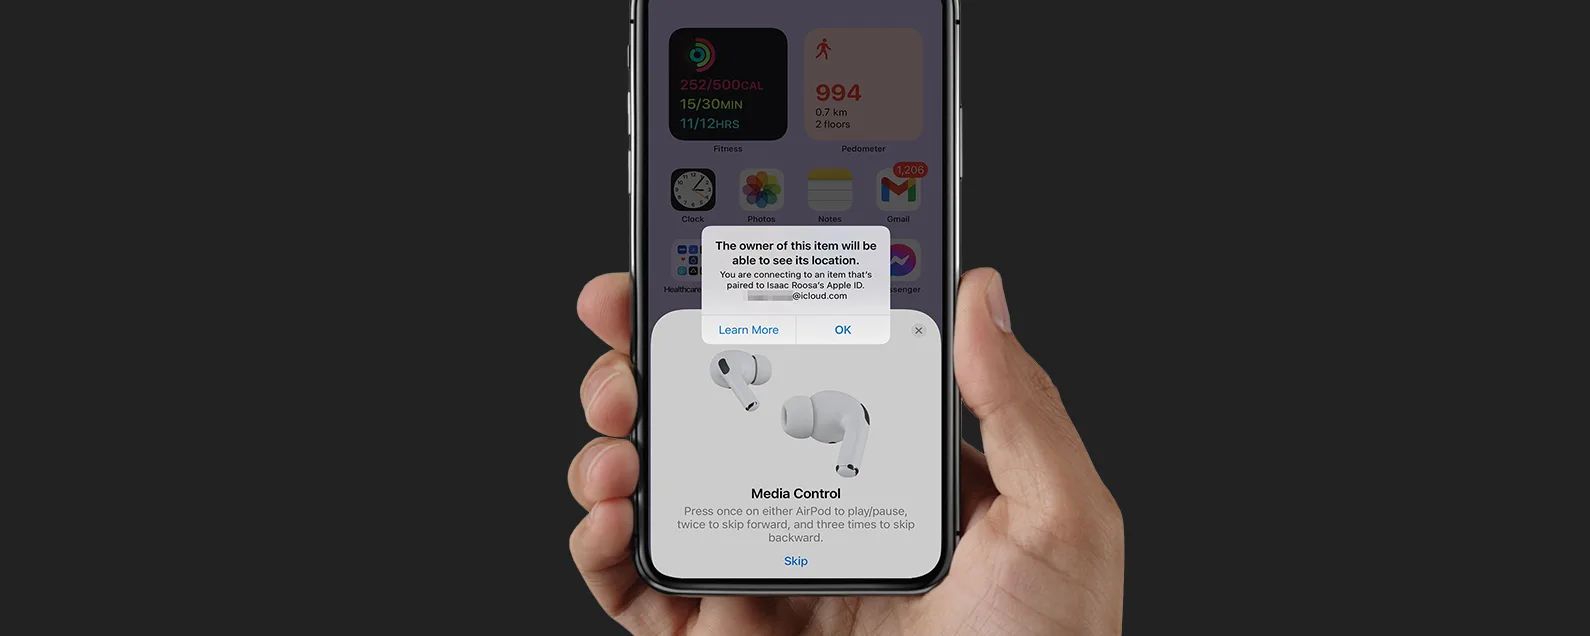
To remove AirPods from your Apple ID, open the “Settings” app on your iOS device, tap on your name, select “Find My,” then “Find My iPhone.” Tap on “All Devices,” choose your AirPods, and select “Remove from Account.” Confirm the action to remove them from your Apple ID.
AirPods have become a popular accessory for Apple users due to their wireless convenience and seamless integration with Apple devices. However, there may come a time when you need to remove your AirPods from your Apple ID. Whether you want to sell or gift your AirPods, or simply need to disconnect them temporarily, this article will guide you through the process of removing AirPods from your Apple ID.
How to Remove AirPods from Apple ID
In today’s digital age, our devices are becoming increasingly interconnected, and the Apple ecosystem is a prime example of this integration. However, there are times when you might need to separate or disassociate your AirPods from your Apple ID.
Whether you’re selling your AirPods, sharing them with a friend, or experiencing any other reason for unlinking them, it’s essential to know how to remove AirPods from your Apple ID. In this article, we will provide a clear and concise guide to this process.
Why You Might Want to Remove AirPods from Apple ID?
Before we dive into the step-by-step process, let’s understand why you might want to remove AirPods from your Apple ID. Some common reasons include:
- Selling or giving away your AirPods.
- Troubleshooting issues related to your Apple ID and AirPods.
- Sharing your AirPods with someone else.
- Preparing your AirPods for use with a different Apple ID.
A Step-by-Step Guide: How to Remove AirPods from Apple ID
A comprehensive guide to removing Airpods from Apple ID is mentioned below.
a. Open Settings on Your Apple Device
Start by opening the “Settings” app on your iOS device. This can be your iPhone, iPad, or even your Mac.
In the Settings menu, select “Bluetooth.” This is where you will find all of your paired devices, including your AirPods.
c. Locate Your AirPods
Under the “My Devices” section, you’ll see a list of your connected Bluetooth devices. Find your AirPods from the list.
d. Forget This Device
Next, tap the “i” icon next to your AirPods’ name. This will take you to the device’s settings page.
e. Unpair the AirPods
On the AirPods’ settings page, tap “Forget This Device.” A confirmation message will appear, asking if you want to unpair the AirPods from your device. Confirm your choice.
f. Confirm Unpairing
After confirming, your AirPods will be unpaired from your Apple device. They are no longer linked to your Apple ID.

Additional Tips and Considerations
To ensure the completeness of this guide, let’s touch upon a few additional tips and considerations:
Erasing Content:
Removing your AirPods from your Apple ID won’t erase any content on the AirPods themselves. If you’re selling or giving them away, make sure to reset the AirPods to factory settings to protect your data.
Reset Your AirPods:
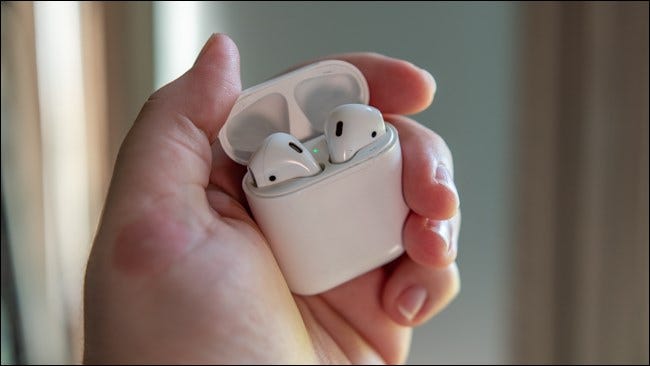
To reset your AirPods, put them in their case, and press and hold the setup button on the back until the status light flashes amber, then white.
Use the “Find My” App:
If you’re having trouble locating your AirPods or believe they are lost or stolen, use the “Find My” app to help you locate them or mark them as lost to protect your data.
Experts Tips and Recommendations
Before we dive into the steps, it’s essential to understand why you might want to remove your AirPods from your Apple ID. When you connect AirPods to your Apple ID, it allows them to sync with all your Apple devices that are signed in with the same Apple ID. This enables features like automatic switching between devices and the ability to easily locate your AirPods through the Find My app. However, when you remove your AirPods from your Apple ID, these features will no longer be accessible.
To begin the process, ensure that your AirPods are fully charged and near your iPhone or iPad. Here are the steps to remove your AirPods from your Apple ID:
1. Grab your iPhone or iPad and open the Settings app.
2. Scroll down and tap on your Apple ID, typically found at the top of the Settings menu.
3. In the Apple ID menu, select “iCloud.”
4. Scroll down to the section labeled “Tap & Done.” Here you’ll find a list of devices that are currently connected to your Apple ID.
5. Locate your AirPods in the list of devices and tap on them.
6. Tap “Remove from Account” to disconnect your AirPods from your Apple ID.
7. You will be prompted with a warning message asking if you want to remove your AirPods. Confirm your decision by tapping “Remove.”
8. Once you’ve removed your AirPods from your Apple ID, they will no longer be associated with your account and will no longer appear in the Find My app.
It’s important to note that removing your AirPods from your Apple ID will not reset them or erase any personal data stored on them. However, it’s always a good idea to manually reset your AirPods to their factory settings before giving them to someone else or selling them. To do this, follow these additional steps:
1. Open the lid of your AirPods case.
2. Press and hold the button on the back of the case until the LED indicator starts flashing white.
3. Hold the button until the LED indicator turns amber and flashes white again.
4. Once the LED indicator turns white and stays that way, your AirPods have been reset to their factory settings.
Conclusion
By following these steps, you can easily remove your AirPods from your Apple ID. Whether you’re gifting them to a friend or family member, selling them, or simply disconnecting them temporarily, taking a few minutes to remove them from your account ensures that they will no longer be tied to your personal Apple ID.

